关于我的Butterfly主题的所有优化
本文记录我对博客中使用的Butterfly主题的所有优化和美化,使得我的博客能够达到我想要的效果,后续的优化也会在此篇文章更新!
在 hexo 的根目录创建一个文件
_config.butterfly.yml,并把主题目录的_config.yml内容复制到_config.butterfly.yml去。对主题的所有修改都是在_config.butterfly.yml中进行的。在butterfly主题文件里的
source \ css文件夹里新建一个mycss.css文件,并在_config.butterfly.yml文件中引入1
2
3inject:
head:
- <link rel="stylesheet" href="/css/mycss.css">
首页
修改首页背景图
在_config.butterfly.yml中找到index_img选项,修改为想要使用的背景图片地址即可。
1 | # The banner image of home page |
首页子标题
可设置主页中显示的网站副标题或者喜欢的座右铭。修改_config.butterfly.yml配置文件
1 | # the subtitle on homepage (主頁subtitle) |

背景特效
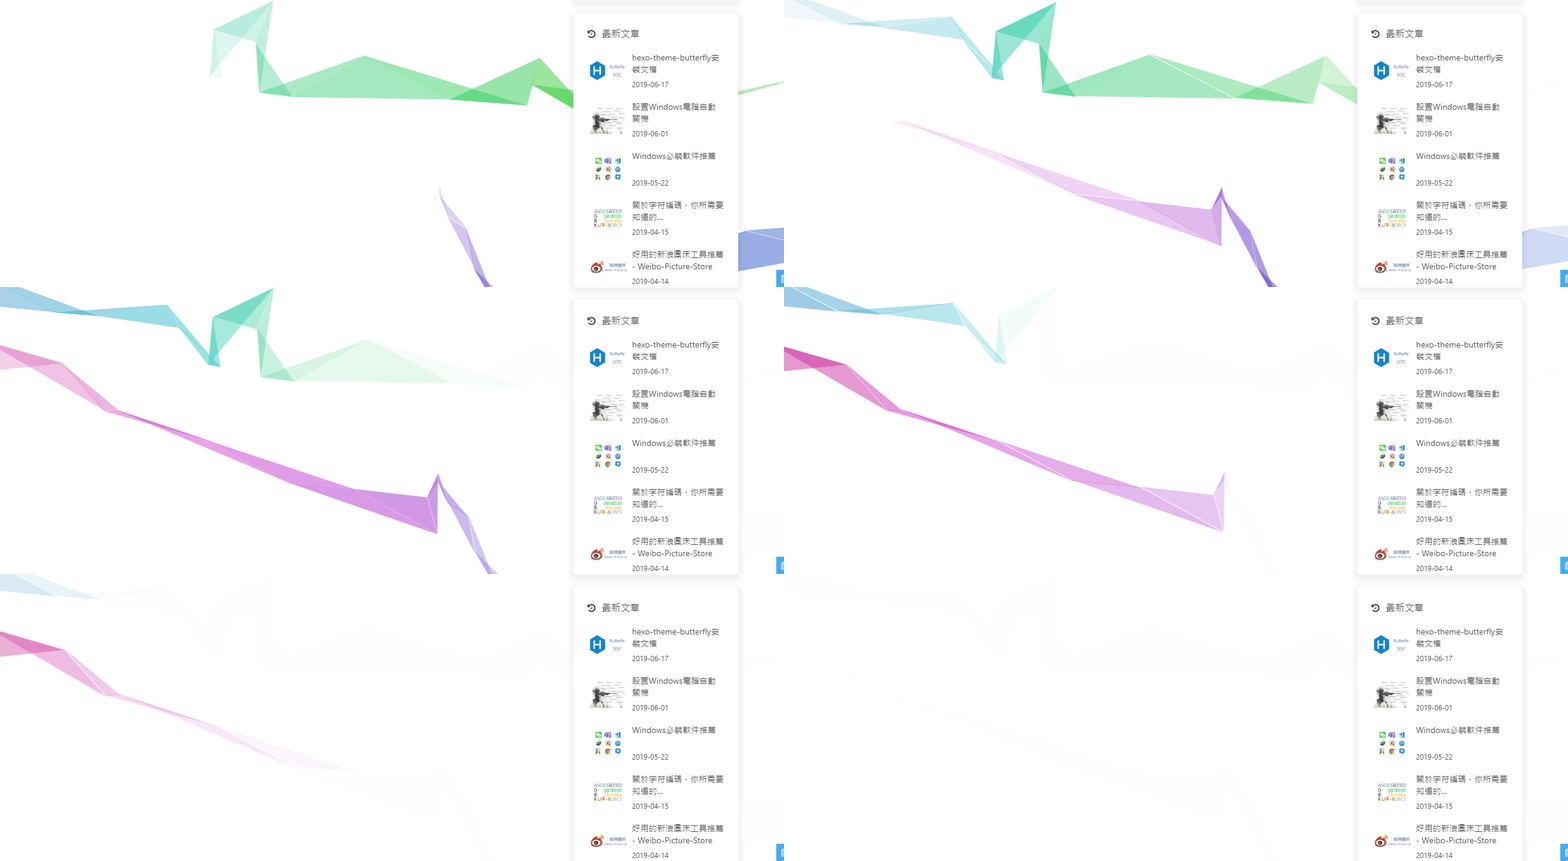
我的博客采用的背景效果。好看的彩带背景,会飘动。修改 _config.butterfly.yml
1 | canvas_fluttering_ribbon: |

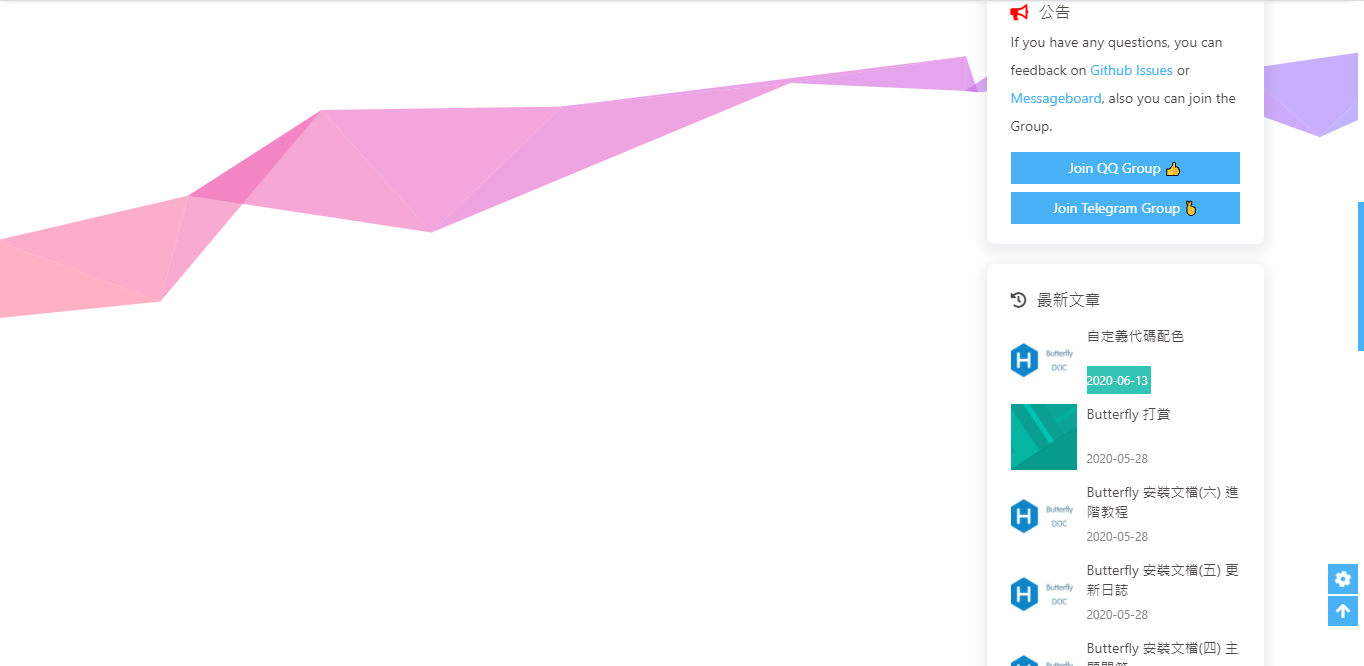
好看的彩带背景,可设置每次刷新更换彩带,或者每次点击更换彩带。修改 _config.butterfly.yml
1 | canvas_ribbon: |

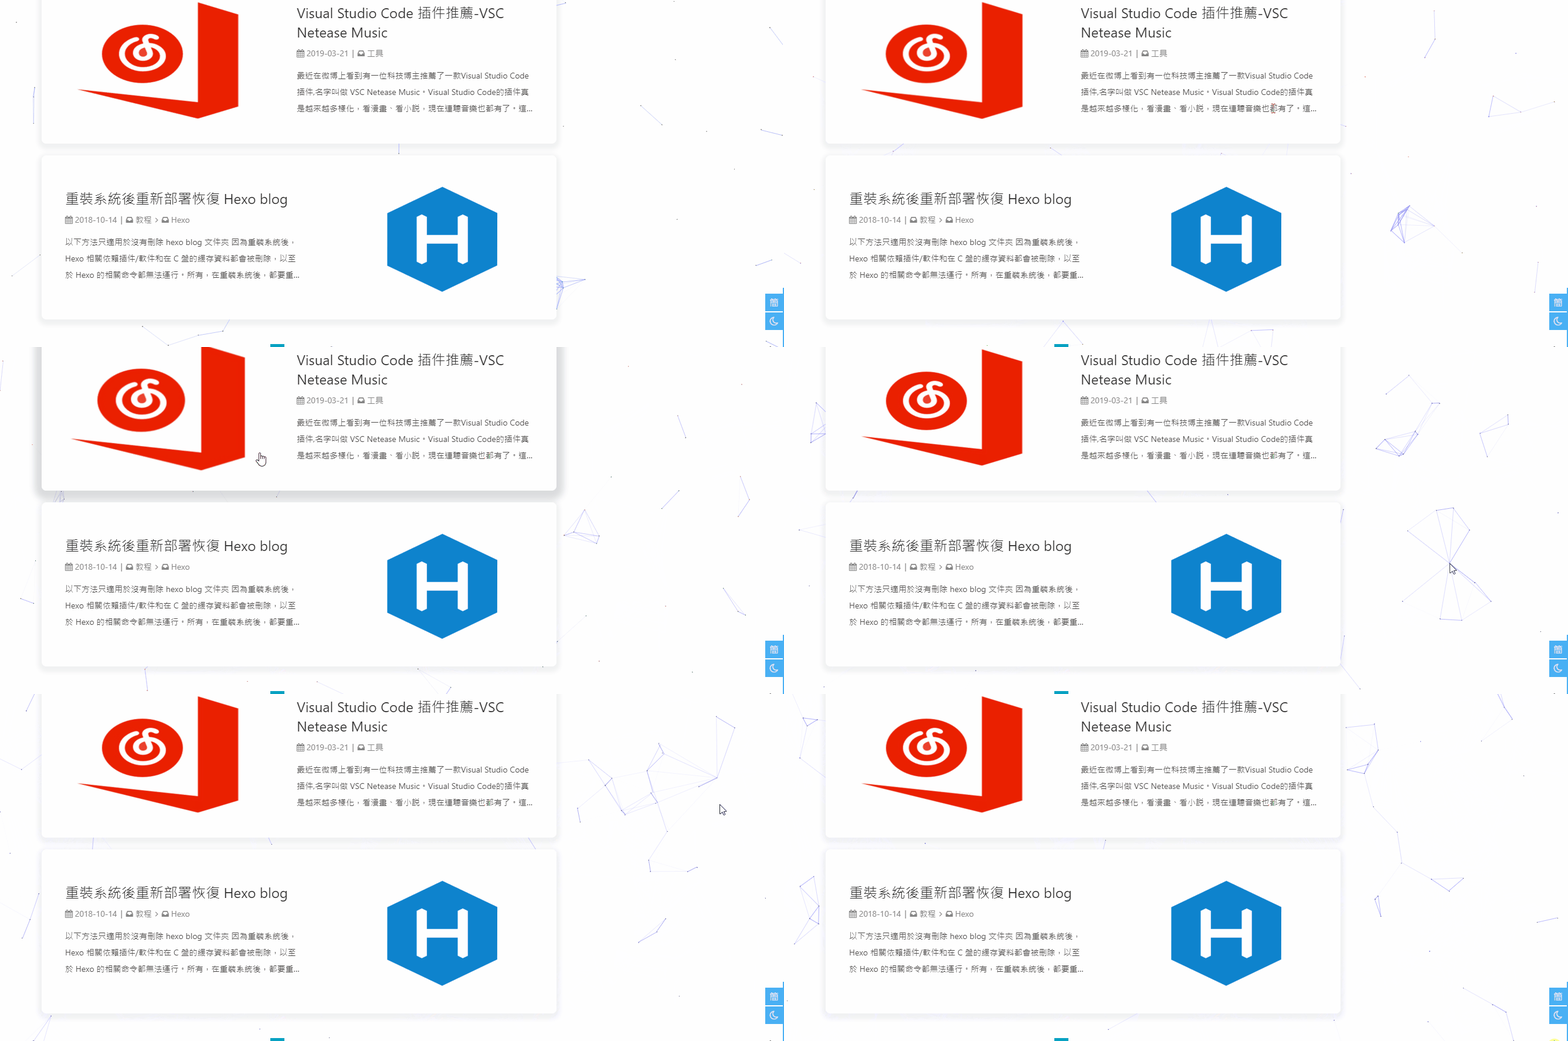
修改 _config.butterfly.yml
1 | canvas_nest: |

字体样式和大小
修改 _config.butterfly.yml,设置全局字体size和样式
1 | # Global font settings |
修改 _config.butterfly.yml,设置首页blog标题(左上角和居中标题)
如不需要使用网络字体,只需要把font_link留空就行
1 | # Font settings for the site title and site subtitle |
footer
侧边栏
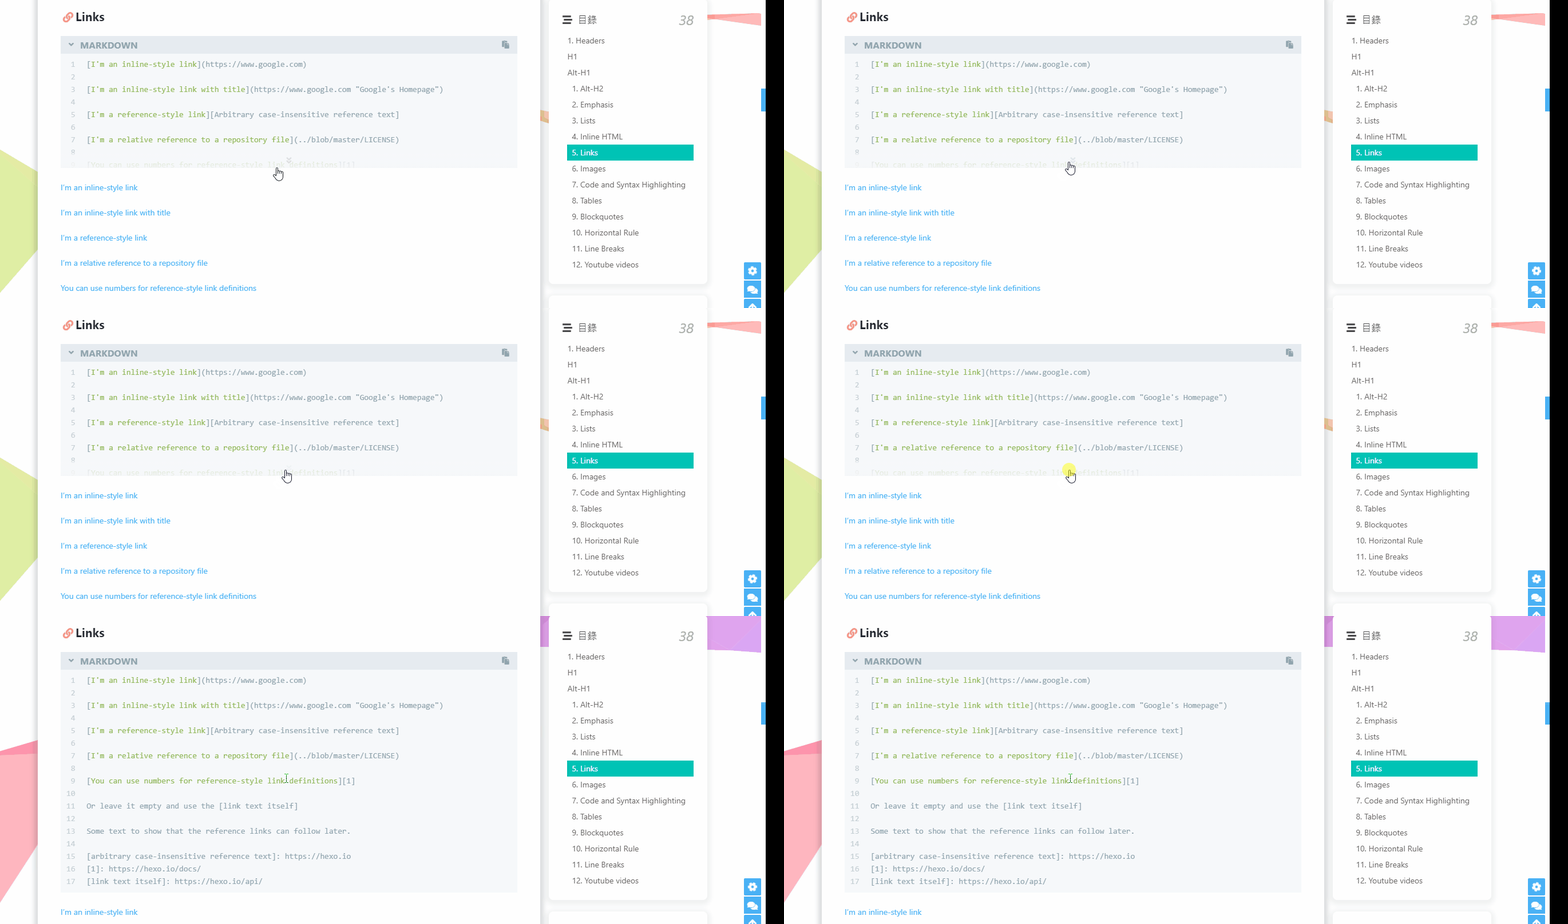
只显示目录
在某个页面的侧边栏如果你只想要展示目录的话,可以在对应页面的 Markdown 顶部配置如下内容:
1 |
|
关闭侧边栏
在某个页面如果你不想要侧边栏的话,可以在对应页面的 Markdown 里加如下配置:
1 |
|
此时我们对应的页面就没有侧边栏了,效果如下:

代码展示
代码样式
Butterfly 支持6种代码高亮样式:darker 、pale night、light、ocean、mac、mac light
修改_butterfly_config.yml文件
1 | # 我的博客采用的样式为: mac light |
代码框高度
可配置代码高度限制,超出的部分会隐藏,并显示展开按钮。
1 | # highlight_height_limit: false # unit: px |

使用本地图片
关于在markdown和博客中都能正常使用显示本地图片,请移步至Hexo 使用本地图片 。
图片压缩
使用Gulp对博客的js、css、img、html等静态资源文件进行压缩,从而加速对博客的访问,解决方案请移步至Hexo+Gulp压缩图片 。
标签外挂
对于本博客中使用的标签外挂,参考链接请移步至hexo-butterfly使用外挂标签 。
更多更全面的标签外挂,请参考butterfly官方链接 。
导航栏搜索
为了减少不必要的又麻烦又容易出错的配置步骤,本博客采用本地搜索方式。
你需要安装 hexo-generator-search,根据它的文档去做相应配置
1
npm install hexo-generator-search --save
修改博客根目录下的
_config.yml.1
2
3
4search:
path: search.xml
field: post
content: true- path - 文件路径 。默认为
search.xml。如果文件后缀是.json,则输出文件是 JSON 文件. - field - 允许被搜索的博客类型,选择范围:
- post (默认) - 只会覆盖博客中的 post 页。
- page - 只会覆盖博客中的 page 页。
- all - 会覆盖博客中的 post 页 和 page 页。
- content - 是否包含每篇文章的整个内容。 如果
false, 生成的结果只包括标题和其他元信息,没有主体内容。默认是true.
要排除某个帖子或页面被编入索引,你可以简单地在其正面内容的
front-matter中插入indexing: false。1
2
3
4
5---
title: "Code Highlight"
date: "2014-03-15 20:17:16"
indexing: false
---- path - 文件路径 。默认为
修改 主题配置文件
_butterfly_config.yml1
2
3
4local_search:
enable: false
preload: false
CDN:
页面加密
你可能需要写一些私密的博客, 通过密码验证的方式让人不能随意浏览。
为了解决这个问题,你需要安装hexo-blog-encrypt ,更多细节请移步至官方文档。
安装
hexo-blog-encrypt1
npm install --save hexo-blog-encrypt
修改博客根目录下的
_config.yml。根据自己的喜好设置如下内容(也可以不设置,使用默认内容):1
2
3
4
5
6
7
8encrypt: # hexo-blog-encrypt
abstract: 有东西被加密了, 请输入密码查看.
message: 您好, 这里需要密码.
tags:
- {name: tagName, password: 密码A}
- {name: tagName, password: 密码B}
wrong_pass_message: 抱歉, 这个密码看着不太对, 请再试试.
wrong_hash_message: 抱歉, 这个文章不能被校验, 不过您还是能看看解密后的内容.将 “password” 字段添加到您文章信息头就像这样.
1
2
3
4
5---
title: Hello World
date: 2016-03-30 21:18:02
password: hello
---只需要将博文头部的
password设置为""即可取消对本博文的加密.1
2
3
4
5
6
7
8---
title: Callback Test
date: 2019-12-21 11:54:07
tags:
- A Tag should be encrypted
password: ""
---
Use a "" to diable tag encryption.在部分博客中, 解密后部分元素可能无法正常显示或者表现。解决方法参加官方文档 。
2048小游戏
想在博客中加入自己编写的2048小游戏,查阅资料后发现需要在文中嵌入 HTML 代码。虽然可以直接在markdown中使用 HTML 标签,但是遇见了渲染异常,即即嵌入的html也被hexo的主题代码渲染了,导致 CSS 样式或者 JS 异常。以下是我的解决方案:
我们使用
<iframe></iframe>标签,样式根据自己的实际情况设置,其中src是我们想要渲染的HTML页面。1
2
3
4
5
6
7<iframe
height=800
width=100%
src="/games/2048小游戏/2048.html"
frameborder=0
allowfullscreen>
</iframe>我们需要在hexo的配置文件
_config.yml中找到skip_render这一配置项,做如下修改:1
2
3
4skip_render:
- "games/2048小游戏/2048.html"
- "games/2048小游戏/css/*"
- "games/2048小游戏/js/*"skip_render代表不希望被hexo渲染的页面,希望hexo直接使用。跳过渲染的规则如下:1
2
3
4"/2048.html" # 表示跳过该文件
"/*.html" # 表示跳过html文件
"/css/*" # 表示跳过该文件夹下的文件
"/js/**" # 表示跳过该文件夹以及文件夹下的文件夹下的所有文件
Math
使用Mathjax
尽管butterfly官文文档推荐使用KaTex,但是我按照官方文档的步骤后,需要换行的数学公式显示有问题,所以退而求其次使用Mathjax 。
修改主题配置文件
_butterfly_config.yml1
2
3
4
5mathjax:
enable: true
# true 表示每一页都加载mathjax.js
# false 需要时加载,须在使用的Markdown Front-matter 加上 mathjax: true
per_page: false如果
per_page设为 true,则每一页都会加载 Mathjax 服务。设为 false,则需要在文章 Front-matter 添加mathjax: true,对应的文章才会加载 Mathjax 服务。安装渲染插件
1
2npm uninstall hexo-renderer-marked --save #如果有其他的数学渲染插件,一并删除
npm install hexo-renderer-kramed --save安装新的插件后,要重新打开cmd窗口才会生效。
配置hexo的配置文件
_config.yml1
2
3
4
5
6
7
8kramed:
gfm: true
pedantic: false
sanitize: false
tables: true
breaks: true
smartLists: true
smartypants: true
解决在hexo中无法显示数学公式的问题
修改node_modules\kramed\lib\rules\inline.js文件
hexo-renderer-kmared渲染引擎仍然存在一些语义冲突问题,到博客的根目录下,找到node_modules\kramed\lib\rules\inline.js,把第11行的escape变量的值做相应的修改:
1 | //escape: /^\\([\\`*{}\[\]()#$+\-.!_>])/, |
这一步是在原基础上取消了对\,{,}的转义(escape)。
同时把第20行的em变量也要做相应的修改。
1 | //em: /^\b_((?:__|[\s\S])+?)_\b|^\*((?:\*\*|[\s\S])+?)\*(?!\*)/, |
重启hexo:
1 | hexo cl && hexo g && hexo s |
Nunjucks Error expected variable end解决办法
问题描述:运行hexo g 和hexo s 都会报Nunjucks Error 错误
解决方法:在公式中的 {{` 和 `}}中间加一个空格变成{ { 和 } }


